Tip-Trick
Tính năng GodMode bí mật trên Windows 7
Công cụ ẩn này cho phép người dùng nhanh chóng truy cập bảng điều khiển (control panel) trực tiếp từ một thư mục đơn. GodMode là đường tắt để truy cập tất cả các chế Read more…
Công cụ ẩn này cho phép người dùng nhanh chóng truy cập bảng điều khiển (control panel) trực tiếp từ một thư mục đơn. GodMode là đường tắt để truy cập tất cả các chế Read more…
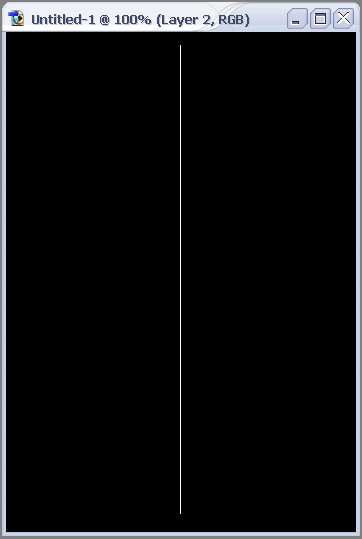
1. First of all create a new image and then right away create a new layer. Also set the background color as black, (the image size I used here is 350X500). Now make a selection one pixel wide and make it cover the whole length. Fill this selection in with white.
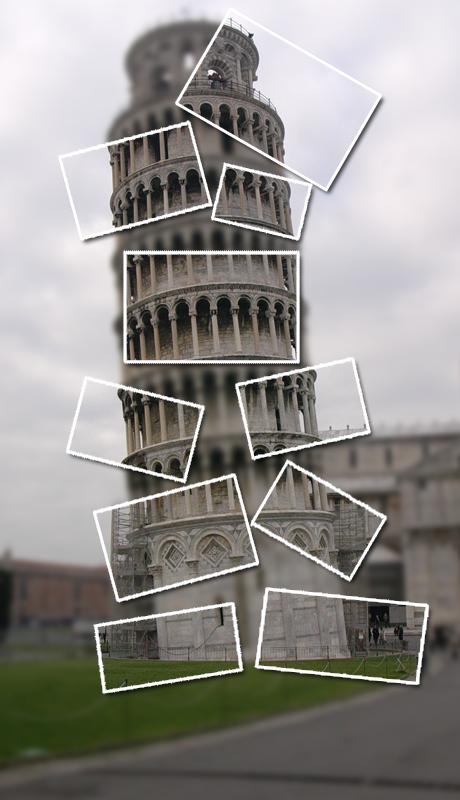
The final effect for this tutorial:
Step 1:
Find a good photograph ,I suggest you will use it for blog ,so I used a standard size:
First at all, we need a picture to manipulate…

1. I’ve created a new blank document in Photoshop (1200 x 1500 px at 300 dpi). I copy the image (ctrl+c) and paste it (ctrl+v) in the new document. This is called “Layer 1”. I’m going’ to do some changes in the size, cause I want to focus me more in the face. I do it… But I got some pixelation here! Well, Is time to play with some filters effect… I add some “Dust and Scratches” Filter > Noise > Dust & Scratches … I use a radious of 3 or 4… I like the painted effect that this filters give to the image.
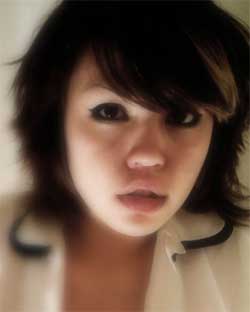
I made some color corrections using Image > Adjustments > Curves and then Image > Adjustments > Variations. Ok, now I duplicate the layer, and blurry it the new layer (Filters > Blur > Gaussian Blur) by 15 or 20 pix. I add a layer mask and in the mask, use a gradient (from white to black, from the left inferior cornet to the upper right side of the image). This touch give me the effect of a blurry in some specific part of the image. I merge down both layers, and it result in my “Layer 1”
2. Ok, but… What about the rest of the layers? Follow me…
I like to work with pieces o’ old metals, tubes, wires, and textures…
I choose one , desaturate the image and erase part of the image:
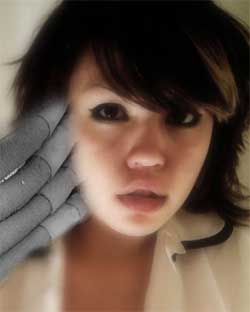
I don’t put so much attention to the details here… Just erase all the parts I don’t like… And that’s my “Layer 2”
1.
First at all, choose a picture:
We’re going to work with one from Virgin-stock, one of my favorites in DA. We changed the size, creating a “zoom” in the face.

2.
We apply here Filter > Noise > Dust & Scratches using: Radious: 4 pixels and Threshold: 0
This will help to dissimulate the image’s pixelation.

3.
Making a copy of this layer, we proceed to apply a blur: Filter > Blur > Gaussian blur … Using 15 pixels. Ok, now click and add a mask to the layer. Using the radial gradient tool make a gradient in the mask like the image in the left.
1. Were gonna start off by choosing a image. I used one of a piano. Feel free to download it and do the same as I did with it. 2. Now press the “Quick Mask Read more…

Rotate the canvas 90 degrees Apply Filter > Distort > Shear with the shape below rotate the canvas back 90 degrees the result should be similar to below.


using an eraser with the above settings erase the ends of the tenticle as shown

Duplicate the layer and position as required then hide the background and use layer > Merge Visible
(more…)