First at all, we need a picture to manipulate…
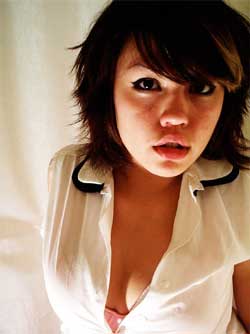
1. I’ve created a new blank document in Photoshop (1200 x 1500 px at 300 dpi). I copy the image (ctrl+c) and paste it (ctrl+v) in the new document. This is called “Layer 1”. I’m going’ to do some changes in the size, cause I want to focus me more in the face. I do it… But I got some pixelation here! Well, Is time to play with some filters effect… I add some “Dust and Scratches” Filter > Noise > Dust & Scratches … I use a radious of 3 or 4… I like the painted effect that this filters give to the image.
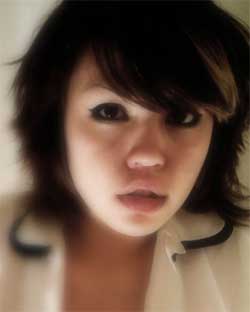
I made some color corrections using Image > Adjustments > Curves and then Image > Adjustments > Variations. Ok, now I duplicate the layer, and blurry it the new layer (Filters > Blur > Gaussian Blur) by 15 or 20 pix. I add a layer mask and in the mask, use a gradient (from white to black, from the left inferior cornet to the upper right side of the image). This touch give me the effect of a blurry in some specific part of the image. I merge down both layers, and it result in my “Layer 1”
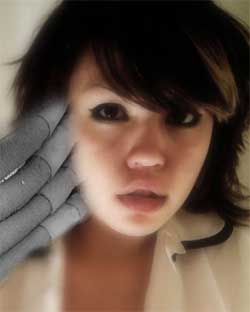
2. Ok, but… What about the rest of the layers? Follow me…
I like to work with pieces o’ old metals, tubes, wires, and textures…
I choose one , desaturate the image and erase part of the image:
I don’t put so much attention to the details here… Just erase all the parts I don’t like… And that’s my “Layer 2”
(more…)