Creating Old-looking Images
1.
First at all, choose a picture:
We’re going to work with one from Virgin-stock, one of my favorites in DA. We changed the size, creating a “zoom” in the face.

2.
We apply here Filter > Noise > Dust & Scratches using: Radious: 4 pixels and Threshold: 0
This will help to dissimulate the image’s pixelation.

3.
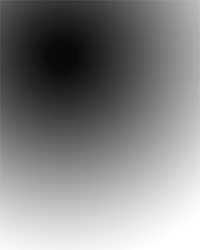
Making a copy of this layer, we proceed to apply a blur: Filter > Blur > Gaussian blur … Using 15 pixels. Ok, now click and add a mask to the layer. Using the radial gradient tool make a gradient in the mask like the image in the left.

4.
This is the result of merge both layers.

5.
Now clicking in this icon in the layers palette, select Hue/Saturation and use this values: Hue: 38 Saturation: 22 Lightness: 0 be sure you check the “Colorize” option. Now the image will look like the image in the left.

6.
Open a texture image from zombie-stock, copy (Ctrl+C) and paste it (Ctrl+V) into a new layer and set this one to Multiply.

7.
I click again and choose Brightness/Contrast, using: Brightness: -16 and Contrast: +15.

8.
Well… I use a duplicate from the first layer, change the colors using Curves and Selective Color (From the Image > Adjustment menu) and set the layer to Soft light…

9.
…And add a pair of little blurry white circles in the eyes, in a new layer in Overlay mode.

10.
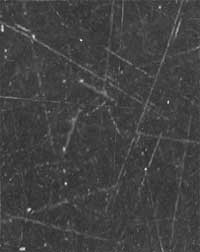
Now, save the image scratchtexture.jpg (in the left), open it, select all and hit Edit > Define Pattern

11.
Fill a new layer with it, and set this one to Soft light. Add a border and that’s finished! An old and beautiful picture.

Important note: The author is not a natural English speaker and there is a high chance of mistakes in every way. Corrections and comments are welcome.

0 Comments