Photo on Picture
The final effect for this tutorial:

Step 1:
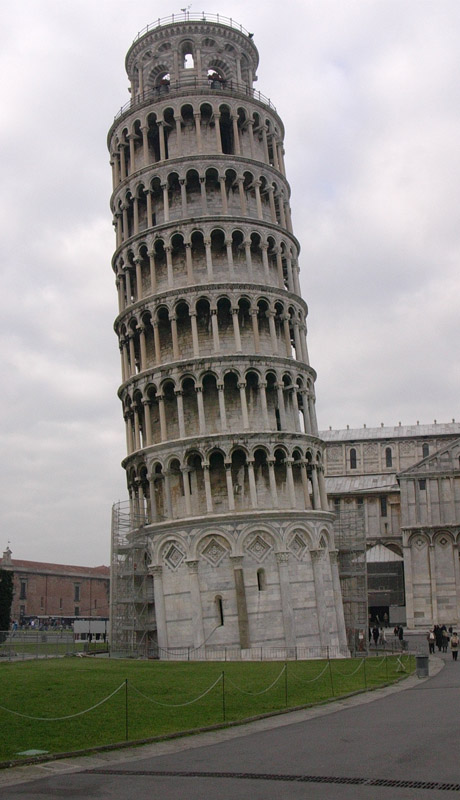
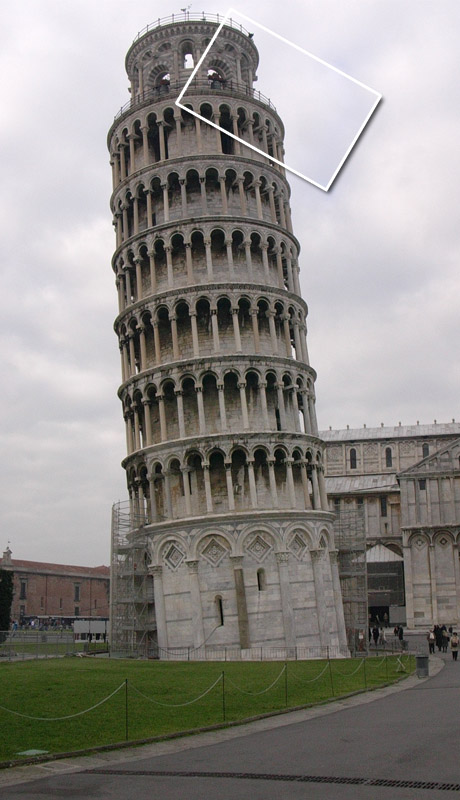
Find a good photograph ,I suggest you will use it for blog ,so I used a standard size:
Step 2:
Make a new layer ,and make a shape with yours photo size. I used Rectangle tool.
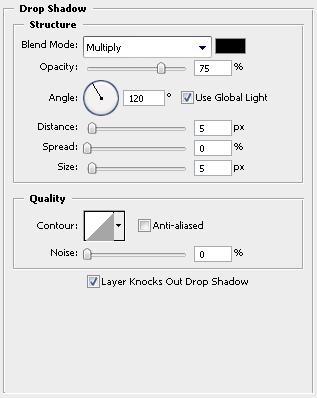
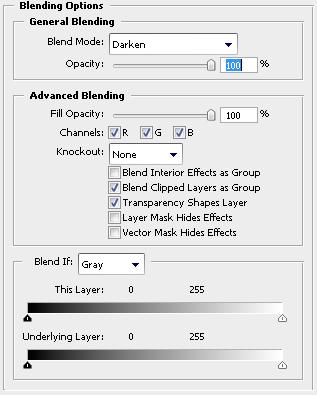
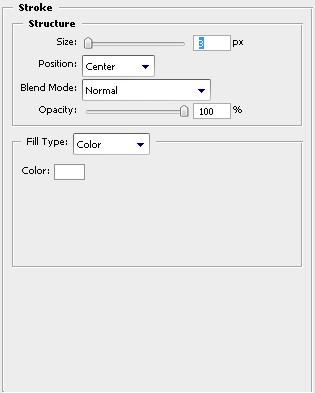
When you are ready go to blending options and apply these settings:
It should now look like this:
Step 3:
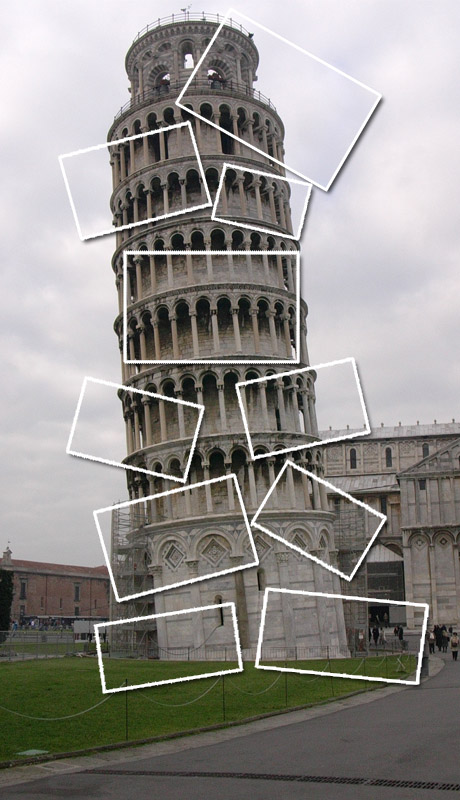
Copy this layer for all the Photo effects on this image, I’ve copied it 10 times.
Now select one of them and move it ,choose its place and go to free transform (Edit -> Free transform or CTRL+T)
Now you can resize and/or rotate your “photo”.
It is better if you make this while holding down the shift button, because the image will be better quality.
Step 4:
But this effect isn’t enough ,right?
Hold down SHIFT + Control and click this:

And click all the layers
Now you will have selected the space where are the photos!
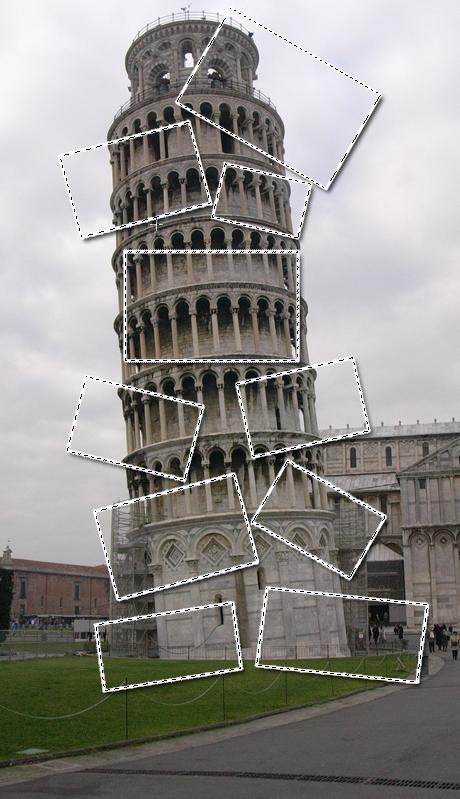
Step 5:
Press select -> inverse (ctrl+shift+I)
Now unlock the background and apply Gaussian blur with 3px radius.
Source : http://www.tutorialguide.net/photo_picture_tutorial.html

0 Comments